
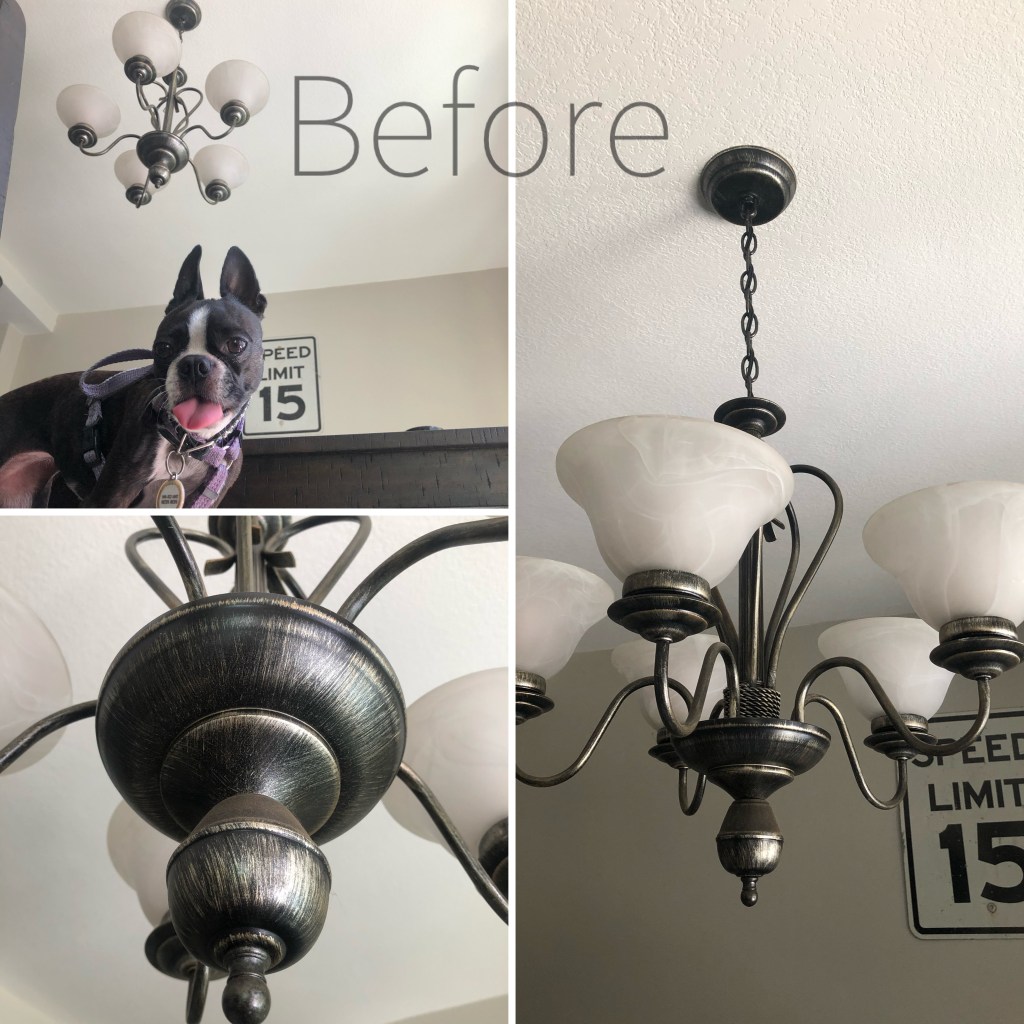
We have this light fixture in our dining room. It isn’t terrible… and when we bought the house it was actually the best looking piece in our dining room. Over the last 3 years… I’ve redone the kitchen, painted the walls, we had the ceiling plastered over (former smoker lived here) and suddenly this gold/silver/greyish light fixture didn’t really look as nice as I thought it did when we moved in. This isn’t a color that is easy to match… but a new light fixture would be costly… and this one works just fine. SO… easiest and cheapest fix is to paint it!
This is what you need:
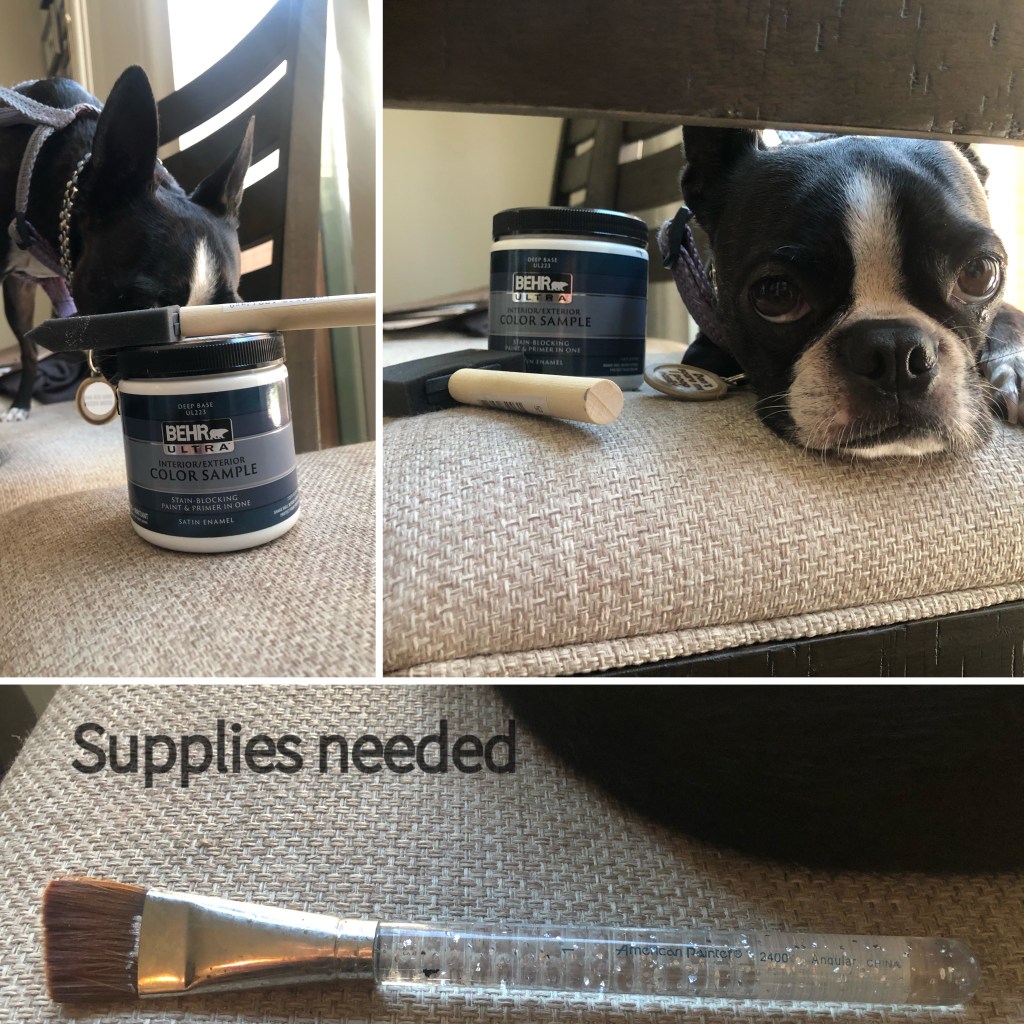
- Behr Ultra Satin paint sample in black (cost me less than $5, I didn’t even put a dent in the container so you’ll just need one) CLICK HERE TO CHECK IT OUT.
2. Foam brush or two. I used two different sizes for this project.. I bought the variety pack of these brushes since I use them often. CLICK HERE TO LOOK AT THE FOAM BRUSHES.
3. I used this smaller paint brush that I had laying around the house to reach some smaller areas of the lamp. Probably didn’t really need it. But good to have if your lamp has some small areas that the foam brush won’t fit in.
4. A boston terrier. This isn’t needed to complete the project.. but they make a cute cheerleader and they can entertain you while you wait for paint to dry.
Step 1: Unscrew the shades on the light fixture. I removed the light bulbs, then found a silver circle piece that I had to unscrew that was holding the glass shade to the fixture.
Step 2: wipe down the fixture to remove any dust.
Step 3: I started painting the light fixture with very thin coats of paint using the foam brush. I didn’t want any strokes to show up on the fixture when it was done. I did 6-7 coats over the entire fixture, but because the coats were so thin.. it looks ended up really clean in the end.
Step 4: While waiting for the paint to completely dry… I scrubbed the glass shades that were there before, let those dry completely before screwing them back on. (drops of water and electricity don’t go well together)
Step 5: Once everything is dry.. put it back together and you are done!
This entire project took me about two hours, and cost me less than $10. It really changed the look of the lamp… and I didn’t even have to remove the fixture.
I decided to leave the decorative rope on the light the old color so it stood out a bit more.

