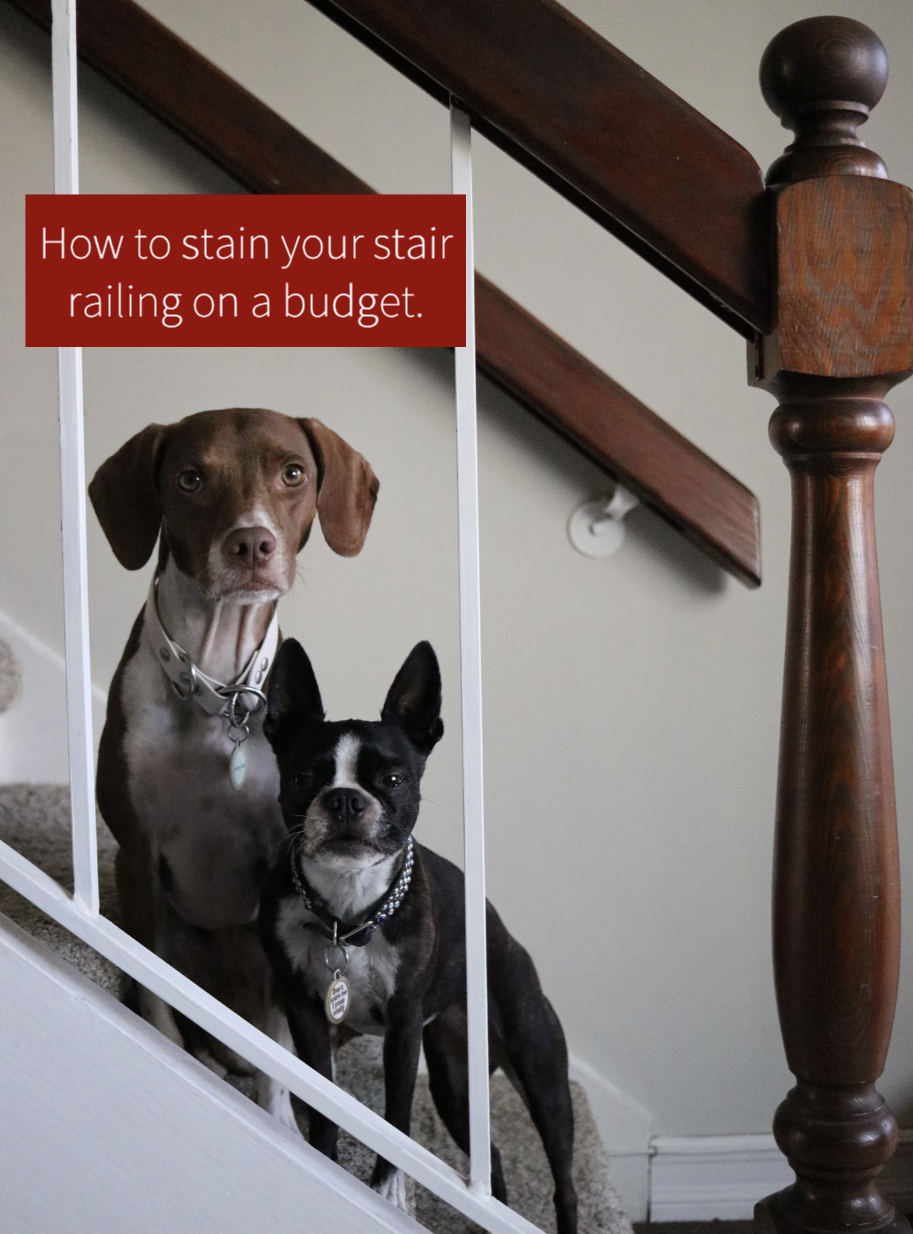
What you need:
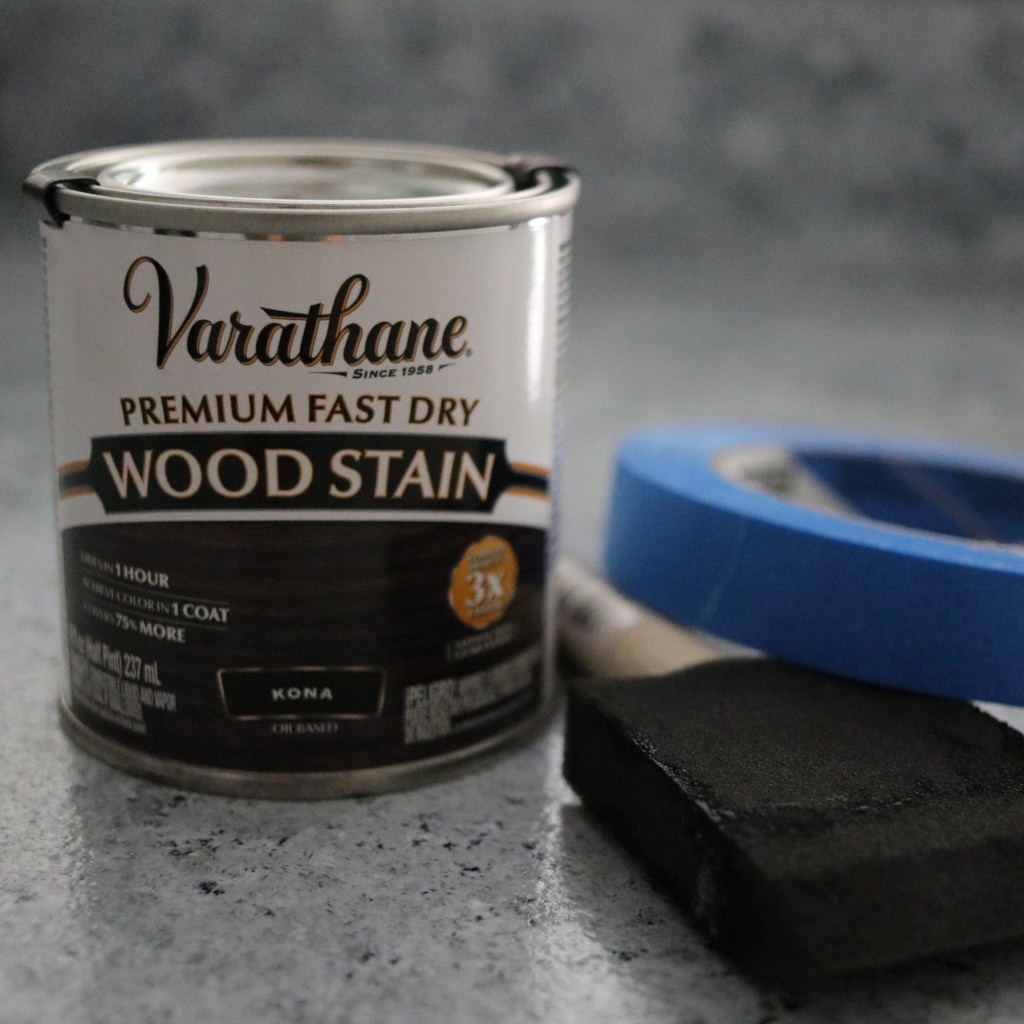
- Verathane Premium Fast Dry Wood Stain – Kona (click to see this product on amazon)
- Foam Brushes, I used the two smaller sizes of this 3 pack. (click to see them on amazon)
- Paint tape.
- Rags to wipe the stain. I actually used a cotton pillow case and cut it into 8 pieces. Wouldn’t 100% recommend that route because i did have to pluck off some fibers after wiping the railing. But it worked.
- Gloves. 100% need gloves for wiping. (Click to see the ones I used. They worked well for this project)
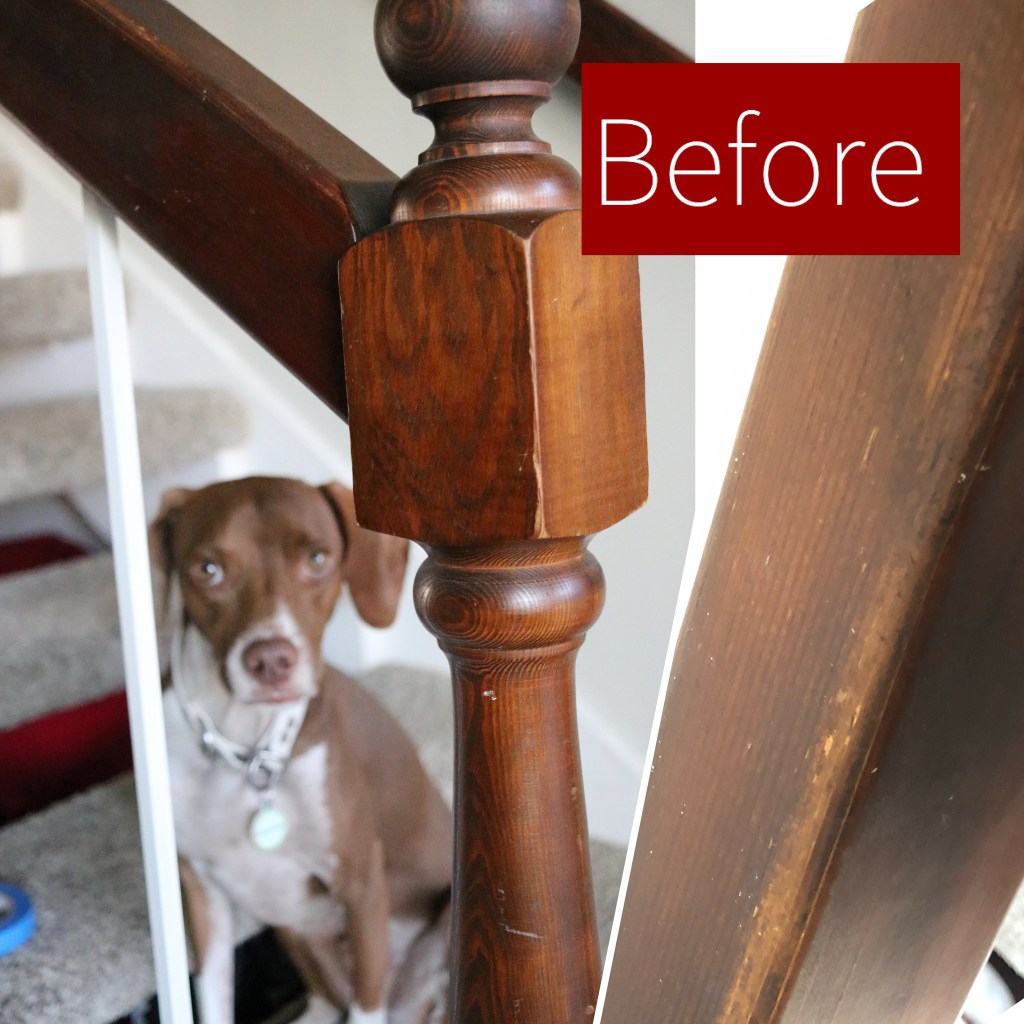
Step 1: Use cleaner and paper towels to scrub the stair railing. I did sand off a little paint that was on the stairs, but wiping the stairs down and letting them dry is all you really need to do before you start this project.
Step 2: Tape off any trim, walls, or ceiling that you don’t want to get the stain on. I was feeling brave and didn’t put a drop cloth down.. I didn’t drop any of the stain so you are probably safe without a drop cloth. The foam brush is pretty absorbent. But use a drop cloth or towel if you think you need it.
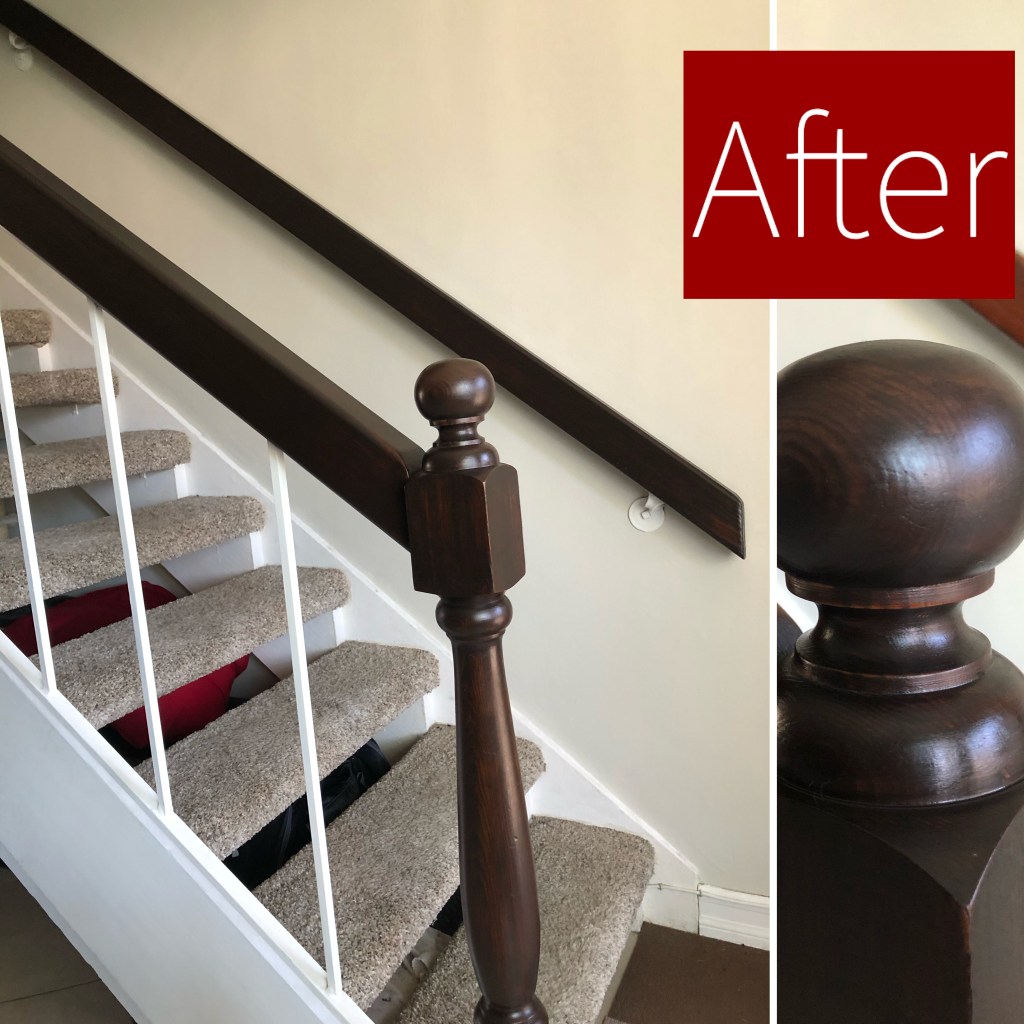
Step 3: The best part about this stain is that it is quick to dry. But this is also a problem. You need to work fast and in small sections for best results. If you look at the photo below, You will see the larger post, then the railing which is kind of a square shape.
I started with the post, Dip your brush into the stain, and wipe off any excess so it doesn’t drip… then brush the stain onto the post with the foam brush (brush in the direction of the wood grain) Once I covered the post, I waited two minutes, then started wiping off the stain where I started painting it. The stain is quick dry formula, and it does dry quickly.. (It also has a very strong smell to it, so open windows and doors for some fresh air and a breeze)
By painting that post, I was able to judge how quickly I could paint on the rest… so I decided step 2 for painting would be to do the top and one side of the post that goes up the stairs. Painting the stain on goes quickly, again make sure you paint in the direction of the wood grain… and try to blend your strokes as you go. I painted on just enough to cover the existing color, you don’t want to paint it on too thick.
When I was done painting those two sides of the rails, I started wiping where I started staining and went from there. It is best to break the staining up into sections, but make sure you are able to complete a section so it all blends nicely.
Step 4: When I completed the stair railing in full, I waited a half hour, then went by with a rag again just to make sure I got all the excess off. It did pull some more stain off in some areas so I was glad I did that.
It has been 7 hours since I finished this project and the stain is completely dry. I will wait until tomorrow before I touch it or place anything on the rails just to be safe. But this was a cheap and quick project that I put off for years because I really thought it would take all day. You only need to do one coat. This took me about an hour to complete.
If you have any questions, drop them in the comments! I would love to see how your stairs turn out, email us anytime at chevytheboston@aol.com. Thank you for reading!